

The formatting toolbar above your text controls how a passage is structured and marked: bold, italic, block types like Blockquote or Verse, scene breaks, links, while a completely separate panel, Styles, controls how your whole book looks when exported. They don't overlap: changing your font or trim size in Styles never touches what the toolbar does, and nothing in the toolbar changes your book's typeface or page size.
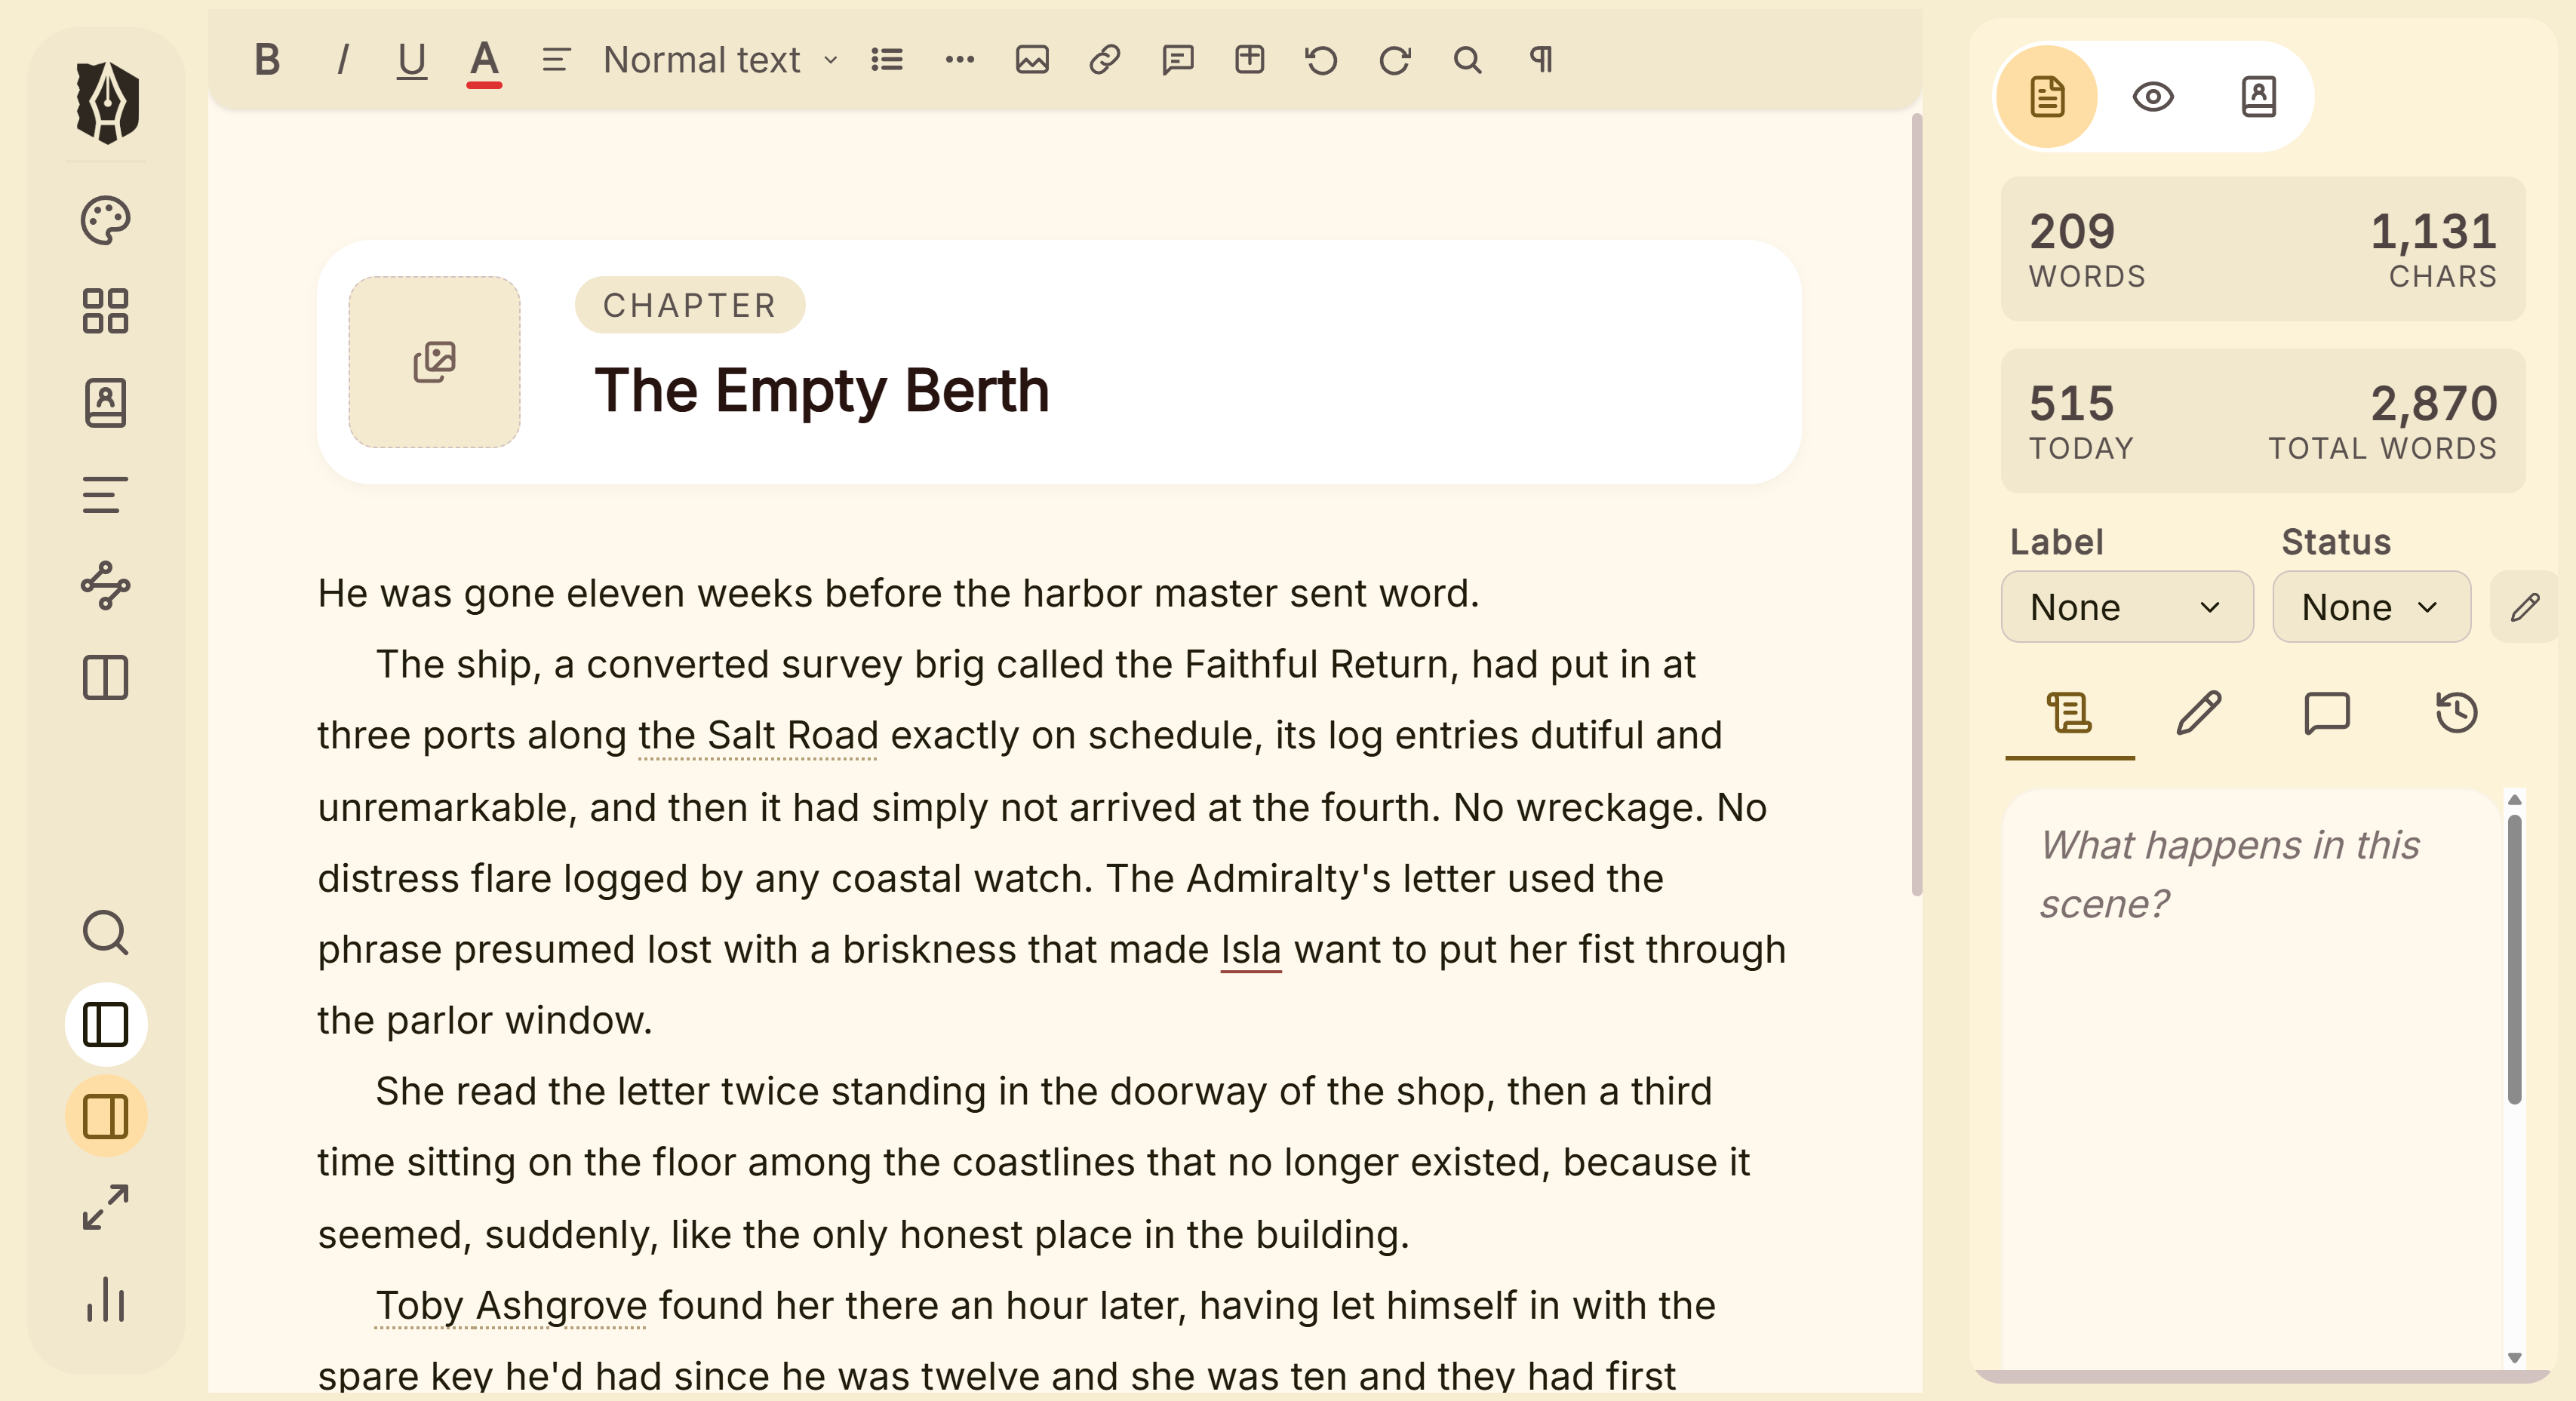 Editor with a chapter open and the toolbar above it
 Formatting toolbar close up
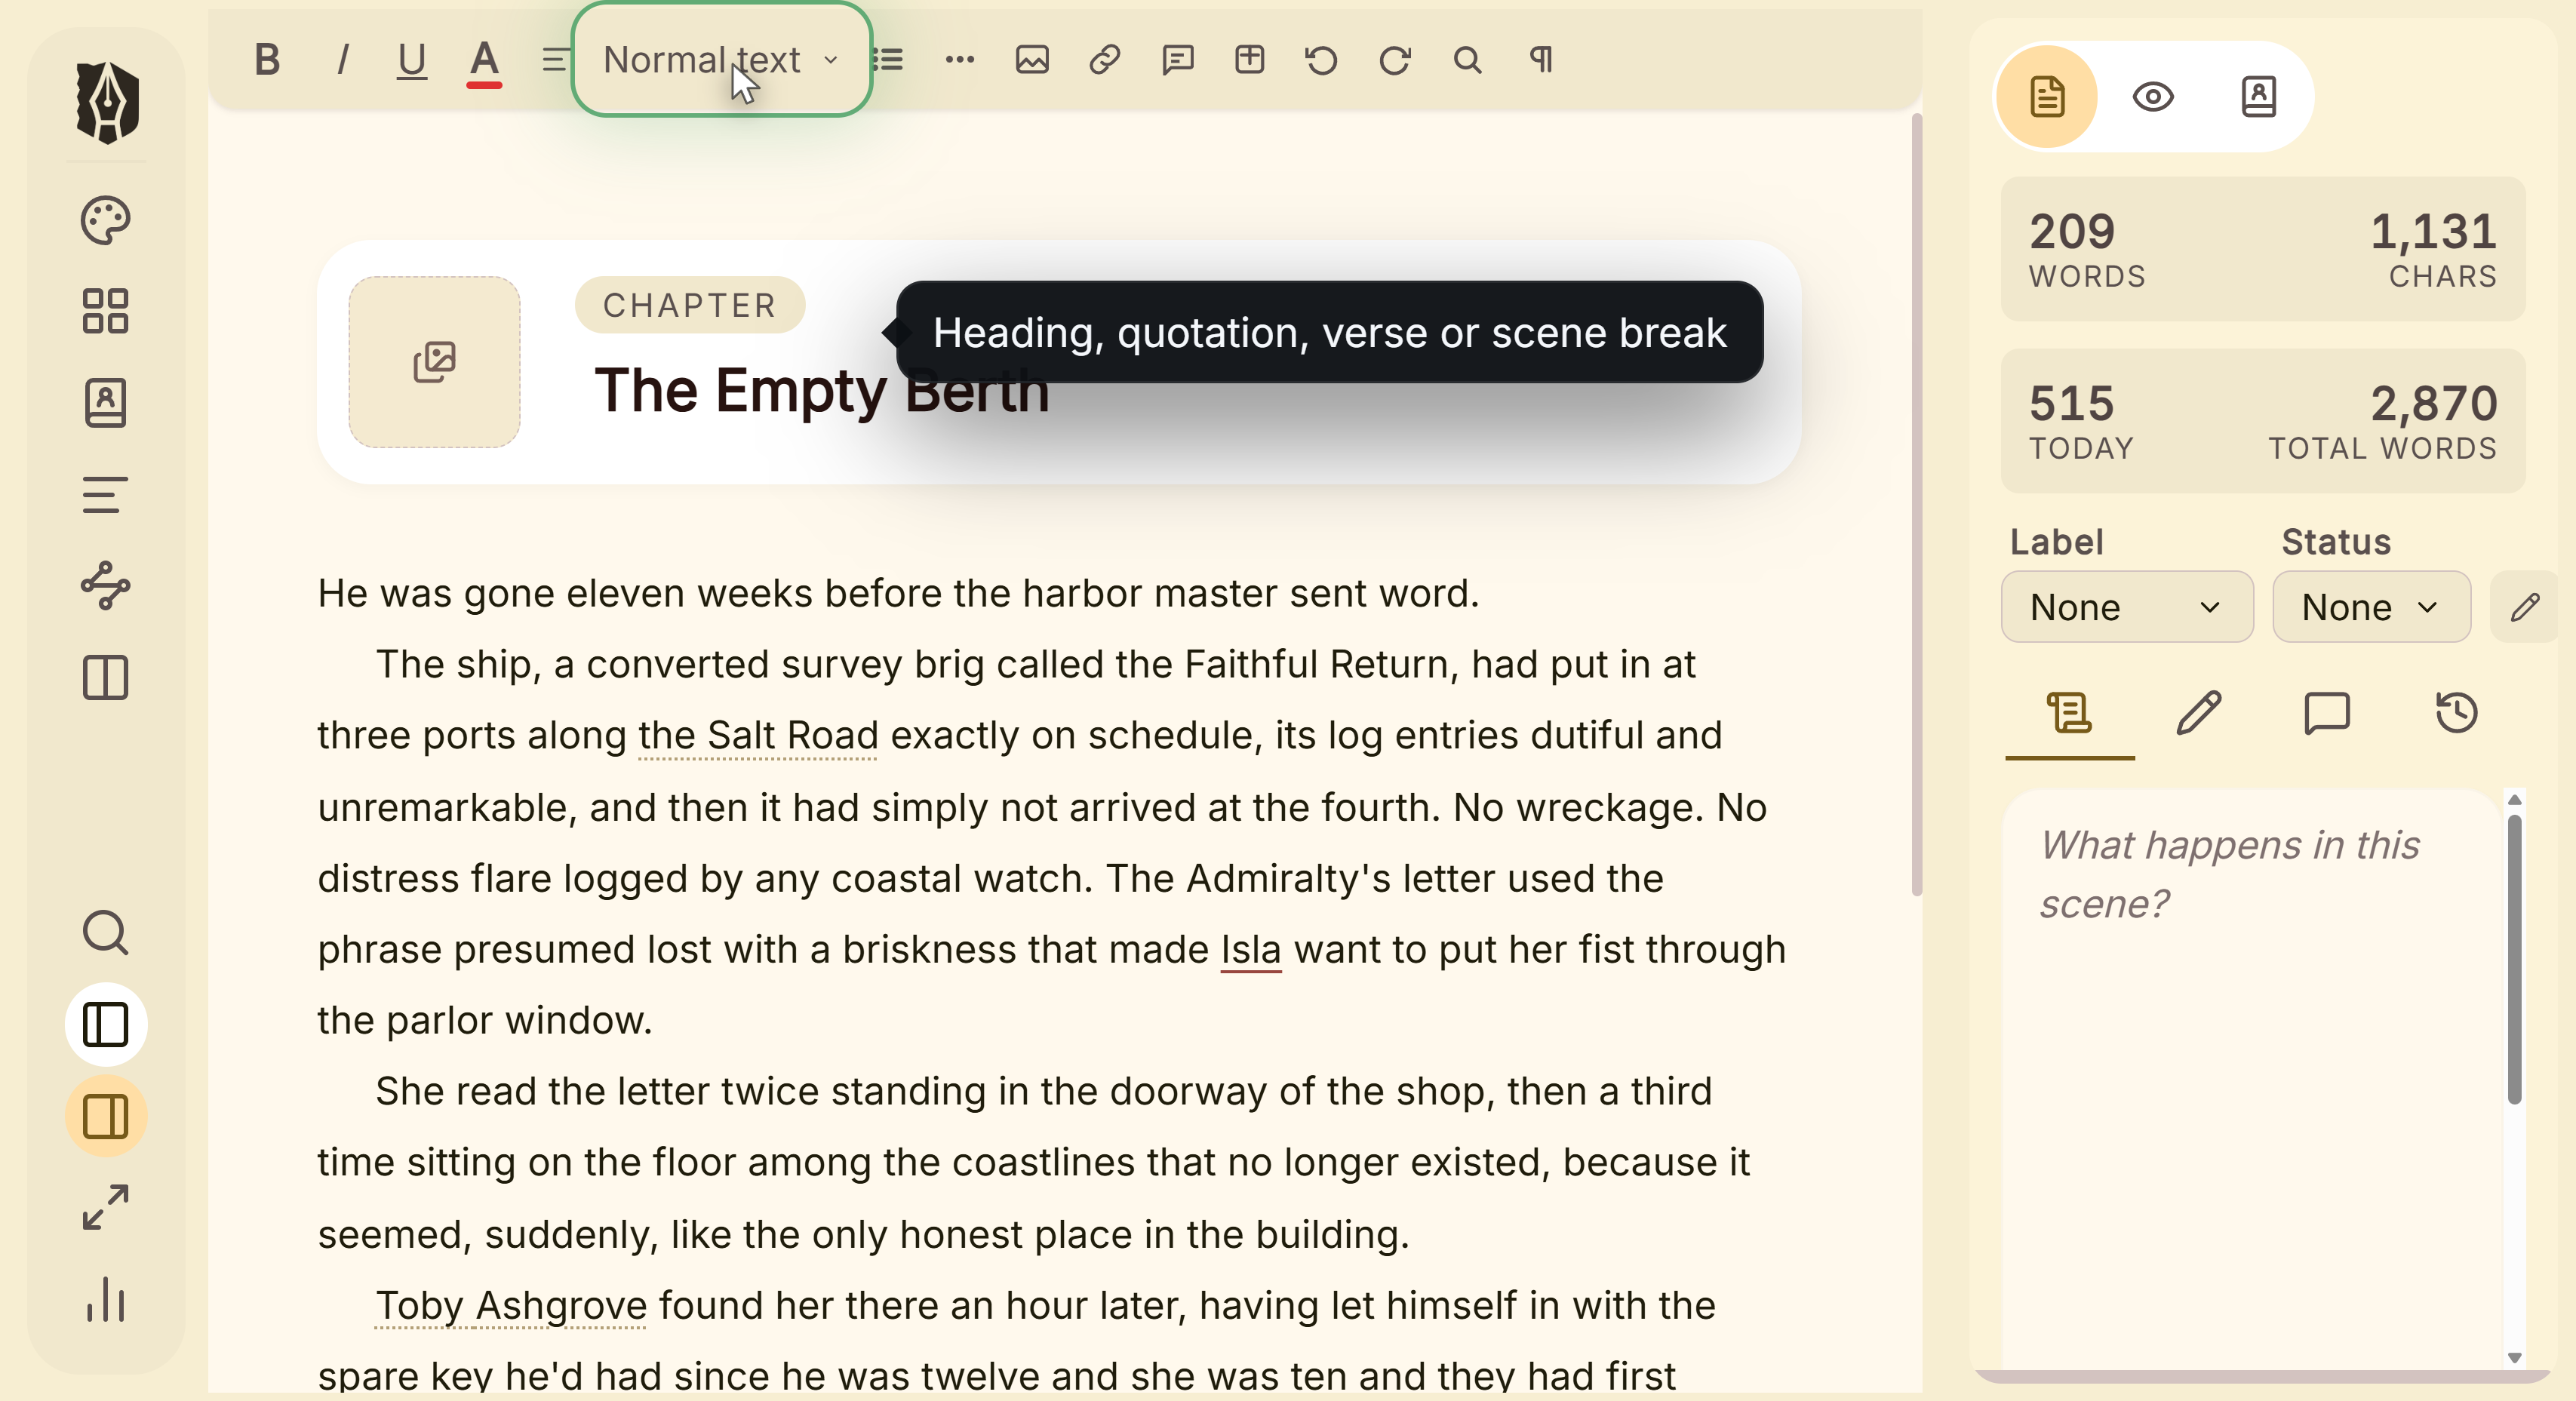 Block menu for headings, quotations and scene breaks
What You Can Do
- Apply bold, italic, underline, and a text color to any selection, or arm Revision Mode to have new text colored automatically as you type.
- Center or right-align a single paragraph, for an epigraph line, a letter's sign-off, or a centered scene marker.
- Switch a paragraph's block type, Blockquote, Verse, Conversation, and five others, from one dropdown.
- Insert a scene break, a link, an image, a comment, or a footnote/endnote.
- Use bulleted or numbered lists, in your manuscript and in your Synopsis and Notes fields.
- Type markdown-style shortcuts (like
>for a blockquote) instead of reaching for the toolbar.
The Toolbar
- Bold (Ctrl/Cmd+B), Italic (Ctrl/Cmd+I), Underline (Ctrl/Cmd+U), and a text color picker.
- Alignment dropdown: one button whose icon shows the current paragraph's alignment, opening a small menu with Align Left, Align Center, and Align Right.
- Block type dropdown: switches the current paragraph between: Normal text, Subheading, Blockquote (Ctrl/Cmd+Shift+B), Attribution, Verse, Written Note, Conversation, and Inset Block. Clicking the active type again switches it back to Normal text.
- Lists: bulleted (Ctrl/Cmd+Shift+8) and numbered (Ctrl/Cmd+Shift+7).
- Scene Break: inserts a scene-break divider (see document types for how this differs from starting a new Scene document).
- Insert Image, Insert/Edit Link, Add Comment (Ctrl/Cmd+Shift+C), Insert Footnote/Endnote (Ctrl/Cmd+Shift+F).
- Undo (Ctrl/Cmd+Z) and Redo (Ctrl/Cmd+Shift+Z, or Ctrl/Cmd+Y).
On a narrow window, less-used buttons collapse into a "More formatting options" menu. The order they disappear in is footnote, then comment, then link, then image, then scene break, then lists, while bold, italic, underline, color, the alignment dropdown, the block-type dropdown, and undo/redo always stay visible.
How to Center or Right-Align a Paragraph
Alignment in Deckle is set one paragraph at a time, so you can center an epigraph or push a letter's sign-off to the right margin without touching the rest of the chapter.
- Click anywhere inside the paragraph you want to align, or select across several paragraphs to do them all at once.
- Click the alignment button in the toolbar, sitting between the text color picker and the block-type dropdown.
- Choose Align Left, Align Center, or Align Right.
The button's icon always reflects the paragraph your cursor is currently in, and it stays highlighted whenever that paragraph is anything other than left-aligned, so you can tell at a glance that an override is in play. Keyboard shortcuts work too: Ctrl/Cmd+Shift+L for left, Ctrl/Cmd+Shift+E for center, Ctrl/Cmd+Shift+R for right.
Centered and right-aligned paragraphs automatically drop their first-line indent on export. A first-line indent on a centered line would only shove the whole block sideways rather than indent anything, so all three export engines suppress it: the paragraph sits cleanly centered or flush right instead.
Alignment set this way is stored with the paragraph itself, which means it comes through in the PDF, EPUB, and DOCX (Word) files Deckle produces, not just on screen. It also renders correctly in a popped-out editor window and in Scrivenings (continuous) view, though the alignment control itself lives in the main editor toolbar, which every pane of a split editor carries.
This is a per-paragraph override, deliberately separate from the project-wide alignment each block type carries in Styles. Use Styles when you want every Verse block or every Attribution in the book to sit the same way, and the toolbar control for a genuine one-off.
Bulleted Lists in Synopsis and Notes
The Synopsis and Notes fields in the Inspector accept real bullet and numbered lists, so a scene's beat sheet or a running list of continuity reminders reads as a list instead of a wall of prose.
- Type
-at the start of a line to begin a bulleted list, or1.to begin a numbered one. - Press Enter to continue the list with the next item.
- Press Tab to nest an item one level deeper, and Shift+Tab to pull it back out.
- Or click the small bullet list icon tucked into the top-right corner of the field, which toggles the current line into or out of a list.
The same field is used in several places, so the same list behavior is available in a document's Synopsis, a document's Notes, the Notes card on a Codex entry, the Notes field on a Timeline event, and the box you get when you edit an existing comment.
Inserting a Link
Click the link button (or select linked text and click it again to edit). Choose External URL for a normal web link (https:// is added automatically if you leave it off) or Doc Link to search for and link directly to another document in your project. Click the link button again while your cursor is inside an existing link to edit or remove it.
A Couple of Things Worth Knowing
💡 There's no strikethrough, inline code, or code block button. Deckle's toolbar is deliberately scoped to prose formatting, not general text markup.
💡 Typing # doesn't create a heading, unlike many other editors. Deckle's only heading-like block, Subheading, is dropdown-only with no typing shortcut. > for Blockquote is the one block type that does have a typing shortcut.
💡 There's no justify option in the alignment dropdown. Justification is a whole-book decision rather than a per-paragraph one, so it lives in Styles under Typography, as the "Text alignment" setting (Left, Justified, Center, Right) that applies to all your body text.
💡 Straight quotes and dashes convert automatically as you type. -- becomes a real em dash, and straight quotes become curly quotes based on context. This isn't optional and doesn't need to be turned on.
💡 Internal document links behave differently across export formats. They become real clickable jumps in EPUB and PDF, but always degrade to plain, unlinked text in DOCX, since Word's export pipeline has no way to represent an in-document jump target. External web links stay clickable in all three.
FAQ
How do I make a heading in Deckle?
Use the block-type dropdown and choose Subheading. There's no typing shortcut for it, unlike Blockquote's >.
Will a link to another chapter still work after I export to Word?
No. Internal document links only stay clickable in EPUB and PDF exports. In DOCX, they render as plain text, since Word's export has no mechanism for an in-document jump.
Do I need to manually convert straight quotes to curly quotes?
No. It happens automatically as you type, and again at export time for anything typed elsewhere and pasted in.
What's the difference between the Verse block and just writing verse in a normal paragraph?
Verse is a distinct block type with its own styling controls in the Styles panel, separate from body text, so you can give poetry or song lyrics different formatting from your prose without manually adjusting each instance.
How do I center one line without centering the whole chapter?
Put your cursor in that paragraph and use the toolbar's alignment dropdown, or press Ctrl/Cmd+Shift+E. Only that paragraph changes, and it keeps its centering in your PDF, EPUB, and Word exports.
Does centered text keep its first-line indent?
No. A centered or right-aligned paragraph drops the first-line indent on export, in all three export formats, because an indent there would shift the block sideways instead of indenting anything.
Can I make a bulleted list in a scene's Synopsis?
Yes. Type - at the start of a line, or click the bullet icon in the top-right corner of the field. Enter continues the list, and Tab nests an item.