

Keep every character, location, item, and piece of worldbuilding in one organized reference, with Deckle automatically tracking where each one actually shows up in your manuscript, not just where you remember mentioning them.
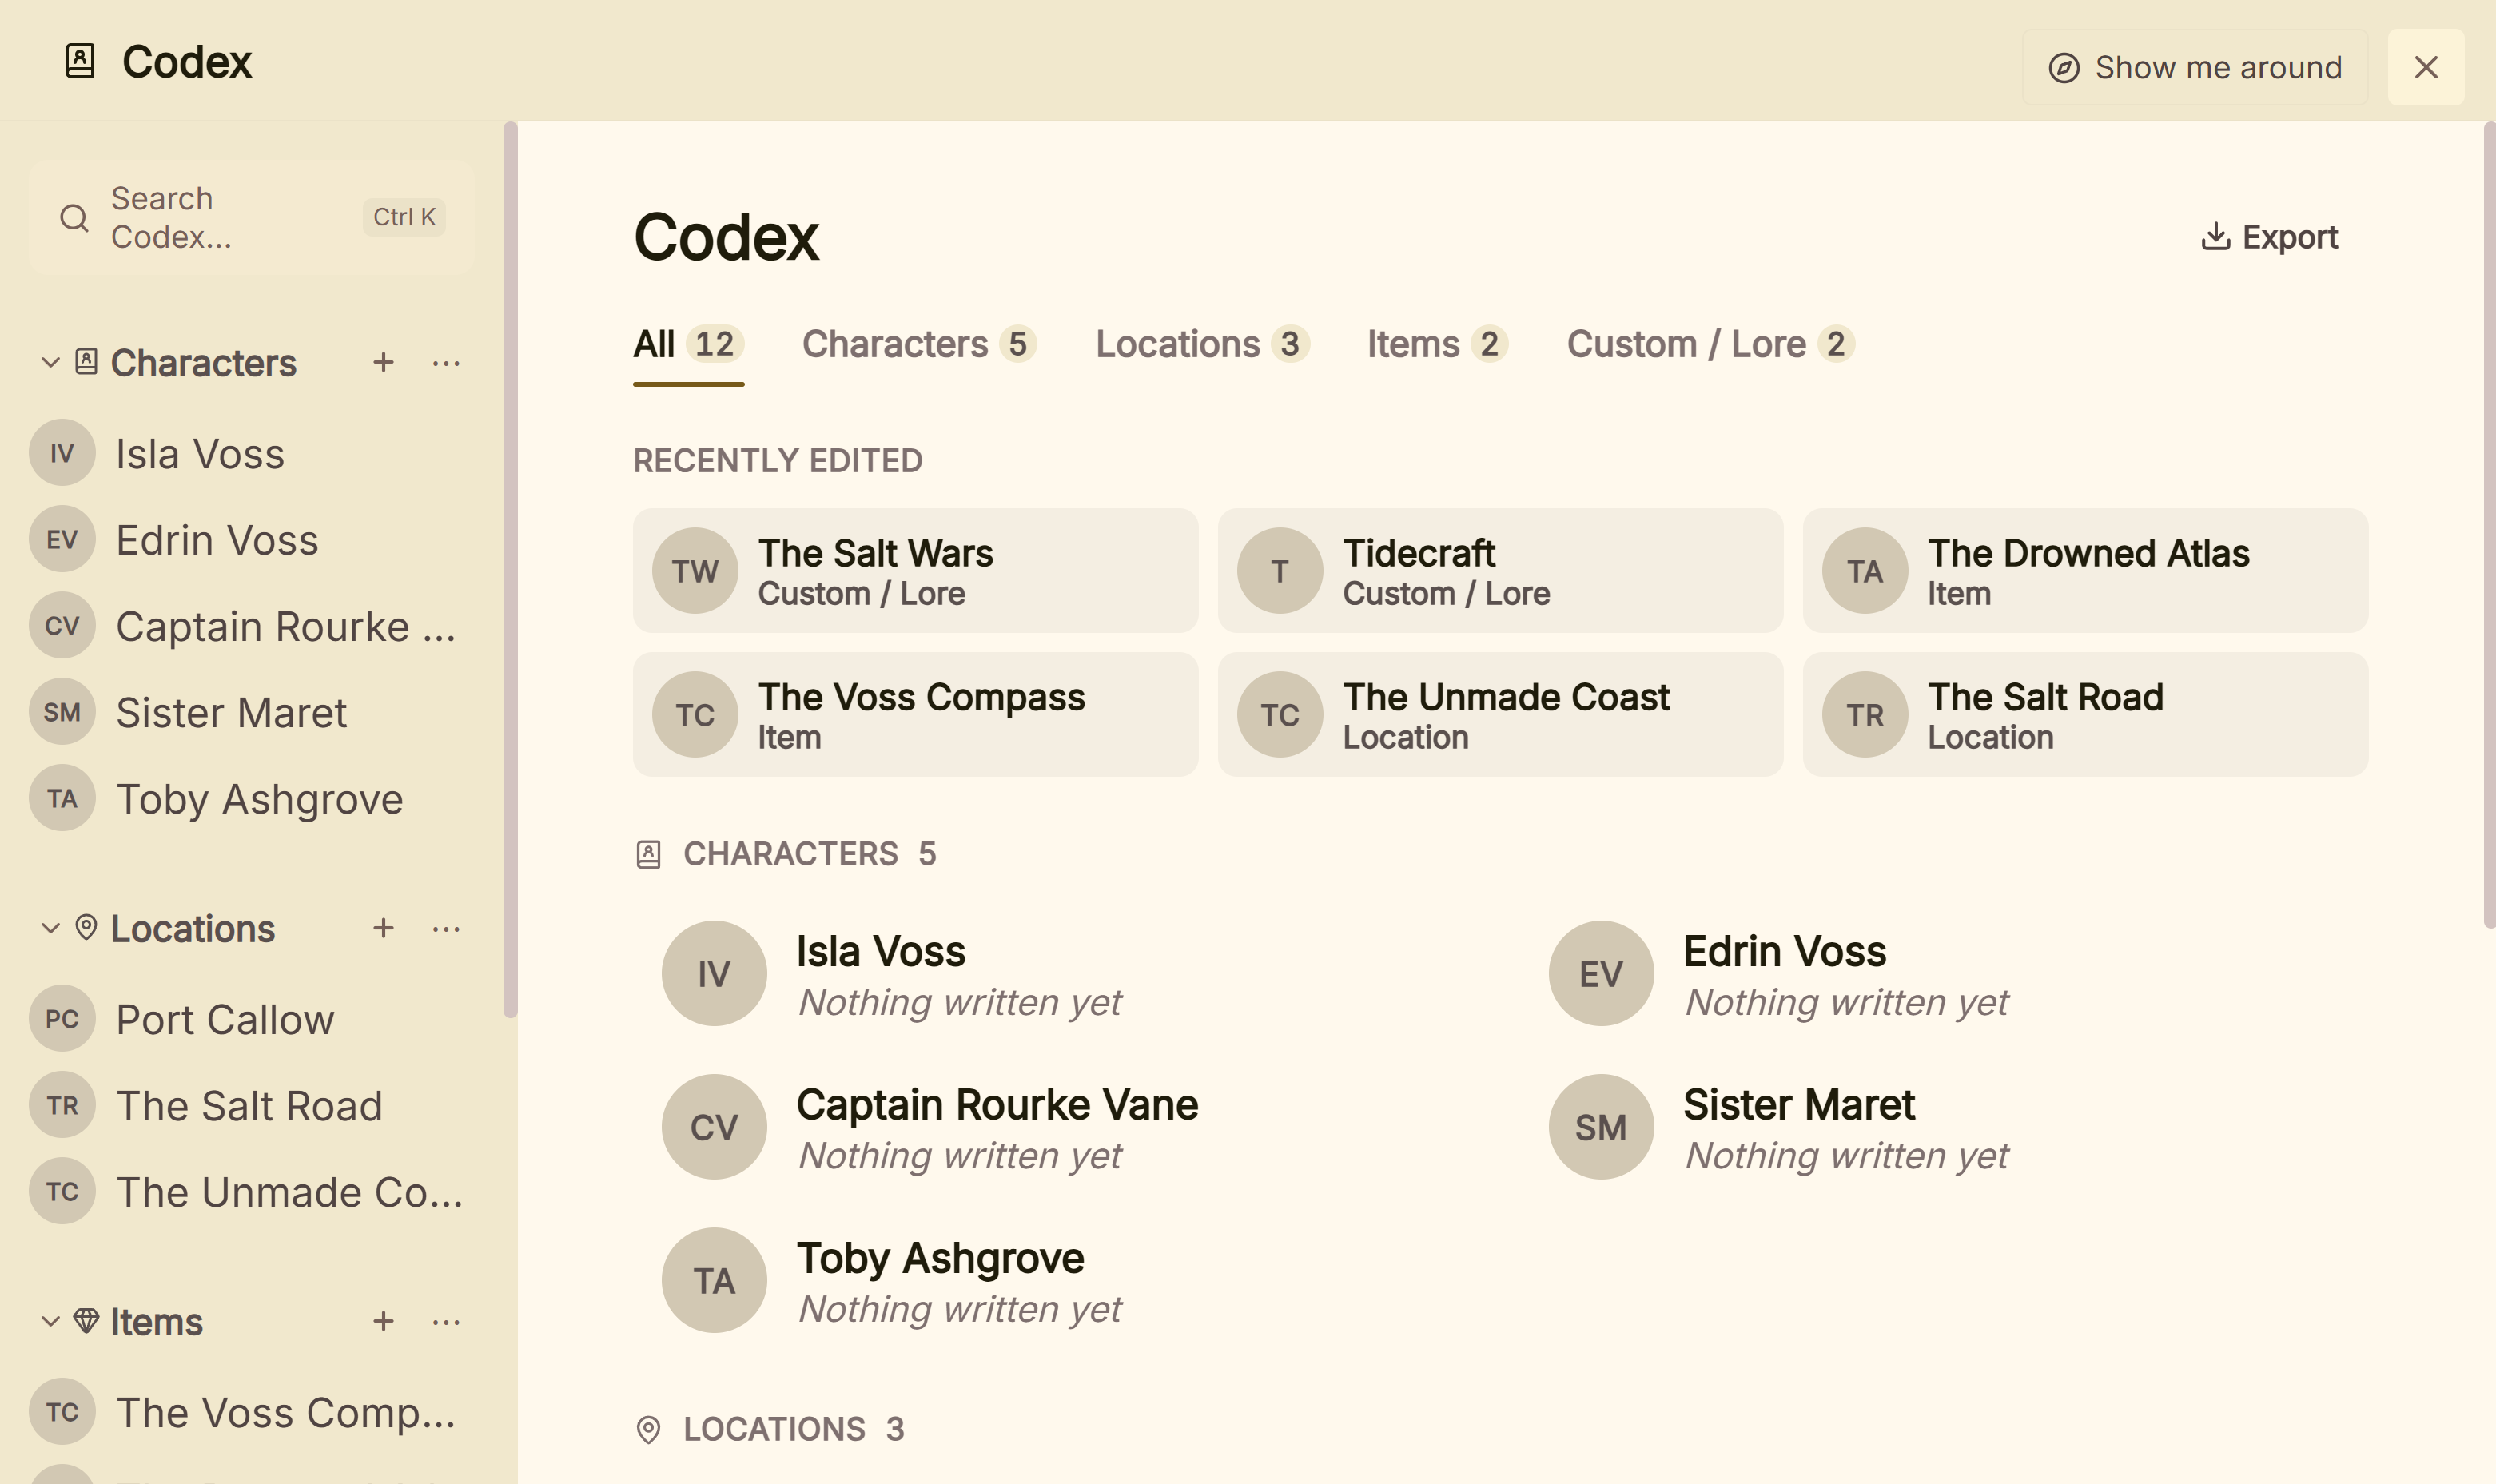 Codex list of characters, places and things
 Codex entries mentioned in the open chapter
What You Can Do
- Organize entries into sections: Characters, Locations, Items, and Custom/Lore are built in, and you can add your own sections from scratch or from a starter template.
- Give a character or place a Role/Type badge (Protagonist, Antagonist, City, Wilderness, and more built-in options, plus your own custom ones), shown as a colored badge in the sidebar.
- Add aliases (nicknames, titles, alternate names) so Deckle recognizes every name variant, not just the primary one.
- Attach a portrait image and a media gallery of additional images to any entry.
- Build fully custom fields and sections per entry (or reuse a saved template) for anything the built-in fields don't cover.
- See exactly which documents mention an entry, automatically: no manual tagging required for this part.
How to Use the Codex
- Open Codex from the main navigation.
- Add a section (or use the built-in ones) and add entries to it: blank, or from a saved template.
- Fill in the entry's name, aliases, Role/Type, portrait, and any custom fields.
- Check Appears In on the entry to see which documents already mention it.
Automatic Detection vs. Manual Tagging: Two Different Things
Deckle connects entries to your manuscript two distinct ways, and they serve different purposes:
- "Appears In" (automatic): shown on the Codex entry itself. Deckle scans your manuscript for the entry's name and every alias, and lists every document where a match is found, sorted in manuscript order. You don't set this up; it just reflects what's actually written.
- Manual linking (deliberate): done from the document side, in the Inspector's Synopsis tab, under "Characters." You explicitly pick which Codex entries a specific scene is linked to, useful for a scene where a character is present or relevant but never named on the page (a first-person POV scene, or a character only referred to by pronoun or title).
Use "Appears In" to find every literal mention of a name; use manual linking to track presence that the text itself wouldn't reveal through name-scanning alone. See tracking character consistency for the full workflow this enables.
A Couple of Things Worth Knowing
💡 Aliases matter for "Appears In," not just for your own reference. A character with "Bob," "Bobby," and "Robert" all added as aliases gets credited with every scene using any of those names, not just their primary entry name.
💡 Role/Type badges are section-specific. Characters get Role (Protagonist, Antagonist, Supporting, Minor, plus your own); Locations get Type (City, Building, Room, Country, Wilderness, Other, plus your own); a custom section gets a freeform Category field instead, since it has no fixed built-in options to start from.
💡 A large Codex stays manageable. Sections can be collapsed, and once a section has more than a handful of entries, a filter box (plus a Role/Type filter for Characters and Locations) appears to narrow it down.
FAQ
What's the difference between "Appears In" and manually linking a character to a scene?
"Appears In" is automatic. It's built from scanning your manuscript for the entry's name and aliases. Manual linking (Inspector → Synopsis tab → Characters) is something you set deliberately, for cases where a character matters to a scene without being named in the text.
Do I need to re-add every nickname a character has for tracking to work?
Yes, but only once. Add each nickname as an alias on the entry, and "Appears In" will pick up every one of them automatically from then on.
Can custom sections use the same Role/Type system as Characters and Locations?
Not the same fixed built-in lists. A custom section gets a freeform Category field instead, since it doesn't start with built-in options the way Characters/Locations/Items do.